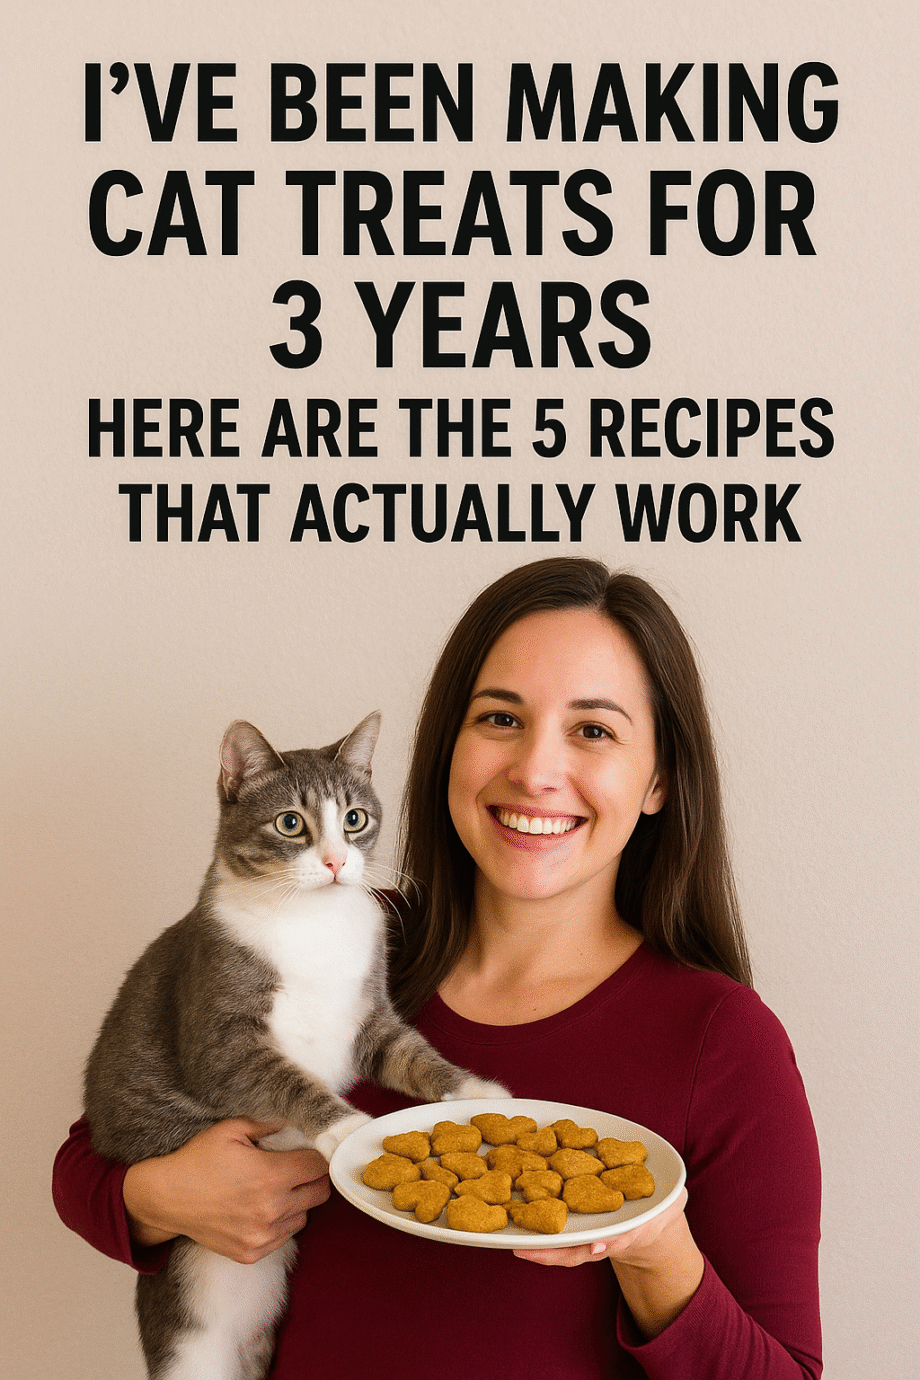
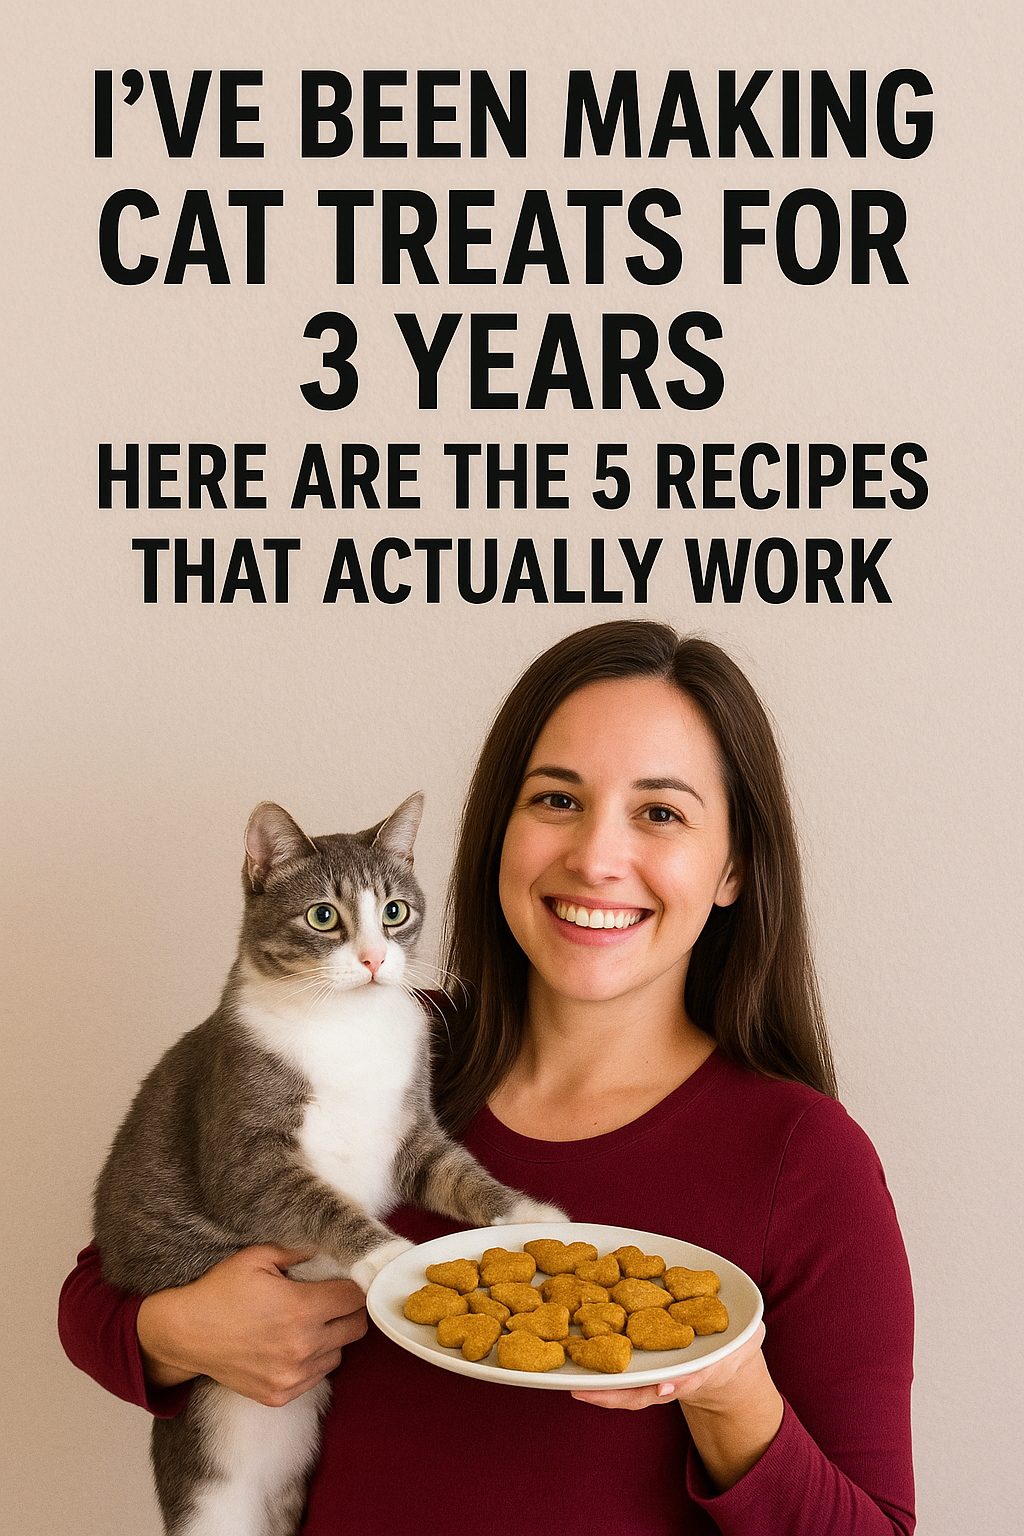
✅ How I went from $40/month on treats to under $10 – and my cats actually prefer the homemade ones
✅ The 3 ingredients that made my picky cat Mochi finally love treats – she used to turn her nose up at everything
✅ My biggest mistakes – so you don’t waste time and ingredients like I did
✅ Which recipes work for cats with sensitive stomachs – learned this the hard way with my rescue cat
✅ Storage tricks I wish someone had told me – because I’ve thrown out SO many moldy batches
Why I Started This Whole Cat Treat Adventure
Three years ago, I had two problems: my cats were bored with their expensive store-bought treats, and I was spending way too much money on tiny bags of what looked like cardboard. My cat Luna would literally sniff her $8 treats and walk away. Meanwhile, my other cat Pepper would eat anything but then get an upset stomach from all the preservatives.
I remember standing in the pet store aisle, holding a $12 bag of “premium” treats with ingredients I couldn’t pronounce, thinking “I cook for myself every day – why can’t I cook for my cats?” That weekend, I made my first batch of tuna treats. They were terrible – too salty and fell apart everywhere. But my cats went absolutely crazy for them.
That’s when I knew I was onto something.
Before we start – please don’t use these ingredients (I learned some of these the scary way):
- Onions or garlic (even tiny amounts can hurt them)
- Chocolate or anything with cocoa
- Grapes or raisins
- Xylitol or artificial sweeteners
- Raw eggs (salmonella risk)
I keep this list taped to my kitchen cabinet because I almost added garlic powder to a batch once without thinking.
Recipe 1: My Famous Tuna Crunchies (The One That Started It All)
I’ve made these probably 100 times now, and they’re still my go-to when I need treats fast. Even cats who hate everything seem to like these.
Here’s what I use:
- 1 can of tuna in water (I buy the cheap stuff)
- 1 cup old-fashioned oats
- 1 egg
- 2 tablespoons olive oil
My process:
- I preheat my oven to 350°F first thing (learned to do this after forgetting too many times)
- I blend the oats in my food processor until they look like flour – takes about 30 seconds
- Then I mix everything in a big bowl until it feels like play dough
- I roll tiny balls about the size of blueberries (any bigger and my cats can’t crunch them properly)
- Bake for 18-20 minutes until they’re golden brown
- I always let them cool completely – impatient cats + hot treats = burned tongues
What I’ve learned: Don’t drain the tuna completely – leaving a little liquid helps everything stick together. Also, if your dough is too dry, add water one teaspoon at a time.
These last about 2 weeks in an airtight container on my counter. I usually make a double batch because my neighbors always ask for some for their cats too.
Recipe 2: Chicken and Sweet Potato Soft Bites (Perfect for Senior Cats)
I developed this recipe when my friend’s 15-year-old cat couldn’t handle crunchy treats anymore. Now I make these for my own cats when they’re feeling under the weather.
My ingredients:
- 1 cup cooked chicken (I use rotisserie chicken from the grocery store)
- 1/2 cup mashed sweet potato (I microwave one and mash it myself)
- 1/4 cup coconut flour (regular flour works too, but I like coconut)
- 1 tablespoon melted coconut oil
How I make them:
- I set my oven to 325°F
- I shred the chicken really fine – bigger pieces don’t hold together well
- I mix everything until I can form it into shapes that don’t fall apart
- Using a teaspoon, I make little patties on parchment paper
- I bake them for 25 minutes until they feel firm but not hard
- Cooling time is crucial – they’re too soft when hot
My tip: If your mixture is too wet, add more flour. If it’s too dry, add a tiny bit of the liquid from the sweet potato. I’ve had to adjust this every single time I make them.
These only last about 5 days in the fridge, but they’re so soft that older cats or cats with dental issues can actually enjoy them.
Recipe 3: My “Training Day” Salmon Treats (High-Value Rewards)
These take more effort, but they’re worth it when you need your cat to actually listen to you. I use these for nail trims, vet visits prep, or when I’m trying to teach tricks.
What goes in:
- 6 oz salmon fillet (I buy frozen and thaw it)
- 1 tablespoon dried catnip
- 1 egg white
- 2 tablespoons coconut flour
My method:
- I cook the salmon completely and let it cool (no seasoning!)
- I flake it into tiny pieces, removing any skin or bones
- I mix in the catnip, egg white, and flour until it holds together
- Here’s the key: I make these TINY – like the size of a pea or smaller
- If I have my dehydrator out, I use that for 4 hours. Otherwise, I bake at 200°F for about 2 hours
Reality check: These are time-consuming to make, and they only last about a week in the fridge. But when I need my cats to cooperate with something they hate, these treats work miracles.
I learned to make extras and freeze them in ice cube trays. That way I can thaw just what I need for training sessions.
Recipe 4: My Pumpkin Tummy Soothers (For Sensitive Cats)
After my rescue cat had digestive issues for months, my vet suggested adding pumpkin to her diet. These treats became a game-changer for us.
My ingredient list:
- 3/4 cup pure pumpkin puree (NOT pie filling – I made that mistake once)
- 2 cups oat flour (I make this by blending oats)
- 1 egg
- 1 teaspoon honey (optional)
- 1/4 teaspoon cinnamon
How I do it:
- Oven goes to 350°F
- I mix the wet ingredients first, then slowly add the oat flour
- I roll the dough between parchment paper until it’s about 1/4 inch thick
- I cut small squares with a pizza cutter (easier than cookie cutters)
- Baking takes about 25-30 minutes until the edges look set
- I always test one myself – they should be firm but not rock hard
What I’ve discovered: These actually smell amazing when baking – like fall spice cookies. My cats with sensitive stomachs do so much better with these than any commercial treats.
They keep for about 10 days in an airtight container, and I can freeze them for up to 3 months.
Recipe 5: The “Nuclear Option” – Freeze-Dried Liver Powder
This isn’t really a recipe – it’s more like making cat drugs. I use this sparingly because it’s so potent my cats lose their minds.
All I need:
- 1 pound chicken liver (usually about $2 at my grocery store)
My process:
- I slice the liver as thin as possible (about 1/4 inch)
- I arrange the pieces on dehydrator trays without touching
- I dehydrate for 6-8 hours at 160°F until they’re completely crispy
- Then I grind them in my coffee grinder (I have a separate one just for this)
- I store the powder in a small jar in my fridge
Warning from experience: A tiny pinch is enough. I made the mistake of giving my cat a whole teaspoon once and she was bouncing off the walls for hours. Now I just put a tiny amount on my finger and let them lick it off.
This powder lasts for months in the fridge and is my secret weapon for getting my cats to take medication or cooperate during stressful situations.
My Storage Lessons (Learned Through Many Mistakes)
I’ve thrown away more moldy treats than I care to admit, so here’s what actually works:
Soft treats: I keep them in the fridge in glass containers for no more than a week. I learned to write the date on masking tape.
Crunchy treats: These can sit on my counter in airtight containers for about 2 weeks. I test them – if they’re not crunchy anymore, they’re done.
Liver powder: This lives in my fridge in a small mason jar. It lasts for months.
My freezing hack: I portion treats into small bags and freeze them. Then I just take out what I need for the week. Game-changer.
How Many Should I Give My Cats?
I’m not a vet, but my vet told me treats should be no more than 10% of their daily food. For my 10-pound cats, that’s about 3-4 small treats per day.
I give treats:
- During training sessions
- After nail trims (bribery works)
- When one of them does something cute
- Never right before meals (they won’t eat their actual food)
My mistake: I used to give way too many treats when I first started making them. Both my cats gained weight, and my vet was not happy with me.
When Things Don’t Go According to Plan
“My cat won’t eat them” – This happened with my first few batches. I started making them smaller and warming them up slightly. Some cats need time to trust new things.
“They crumbled everywhere” – Usually means I didn’t add enough binding ingredients. I add an extra egg or a bit more oil next time.
“My cat threw up” – I stop giving them immediately and watch for other symptoms. Could be too much too fast, or an ingredient sensitivity.
“They got moldy fast” – I probably didn’t let them cool completely before storing, or I stored them somewhere too humid.
What This Has Cost Me (The Real Numbers)
I used to spend about $35-40 per month on commercial treats for my two cats. Now I spend maybe $8-10 every few weeks making my own, and I have way more treats.
My rough calculation: Homemade treats cost about 25% of what I was paying for premium commercial ones.
Plus, my cats actually eat these instead of sniffing them and walking away like they did with half the expensive stuff I bought.
When I Call My Vet
I’m just a cat owner who got tired of expensive treats, not an animal nutritionist. I always check with my vet when:
- One of my cats has health issues
- I want to try a new ingredient
- A cat has any reaction to the treats
- I’m not sure about portion sizes for a specific cat
My vet actually loves that I make homemade treats because she knows exactly what my cats are eating.
What I’d Tell My Past Self
Start with the tuna treats. They’re foolproof and every cat I’ve met likes them. Don’t get discouraged if your first batch isn’t perfect – mine were terrible.
Make small batches until you know what your cats like. I wasted so much food making huge batches of treats my cats hated.
Keep a notebook of what works. I have a little journal where I write down modifications and which cats liked what.
Most importantly, have fun with it. My cats now come running when they hear me getting ingredients out, and it makes me feel like I’m doing something good for them.
Let’s Stay Connected!
I love hearing about other people’s cat treat adventures! If you try any of these recipes, I’d love to know how they turned out. And if your cats are picky like mine were, don’t give up – sometimes it takes a few tries to find their favorite


